Now that the Rack is available as a separate VST3/AU/AAX plugin license, we’re sure plenty of people want to know how they can make the most of it in their DAW of choice.
If you’re new to Reason and you want to know how to use the Rack plugin in Ableton Live, FL Studio, Logic Pro, or any other DAW, then this guide is for you.
And of course, if you’re a current Reason user and you know someone who wants to make the Rack part of their plugin arsenal, send this article their way!
Let’s run through a little background info before we get things set up.
What is the Reason Rack?
The Reason Rack is a virtual instrument system that emulates the workflow of studio rackmount devices. It’s especially good at giving you the feel of hardware synths, effects, and sequencers from the ‘90s and early 2000s, but it’s also a modern and sophisticated toolset, making it great for any genre or style.
It’s been the most distinctive and iconic aspect of the Reason DAW since we started back in 2000. With the release of Reason 11 in 2019, anyone who owned the Reason DAW could also use the Rack as a plugin in other compatible DAWs. Fast-forward to today, and you no longer need a license for the Reason DAW to experience the Rack — it’s available as a separate, independent plugin license for users of any DAW that hosts VST3/AU/AAX plugins.
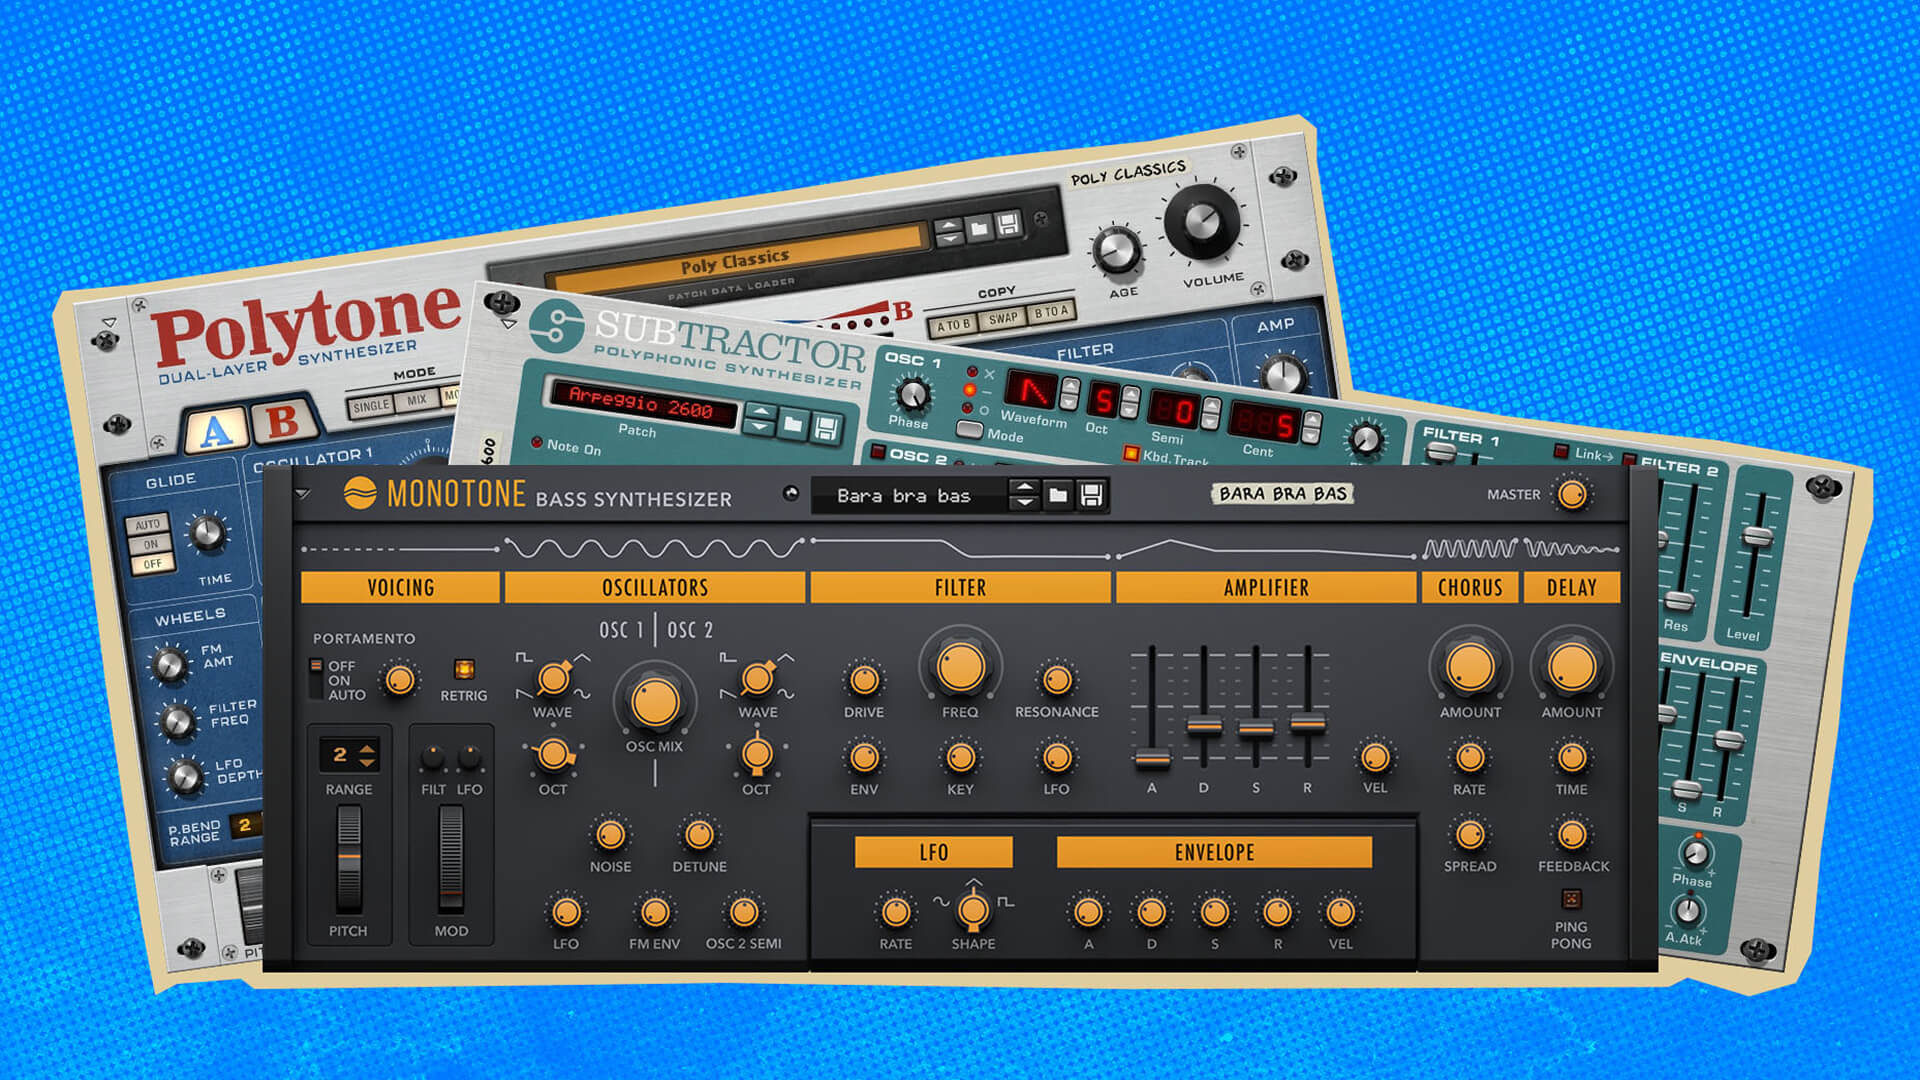
The Rack comes with over 90 devices sorted into the categories of Instruments, Effects, Utilities, and Players (Players are sequencers and MIDI generators). On top of this, there’s a massive library of additional Rack devices called Rack Extensions, which are either created internally by us or by our fantastic community of third-party developers.
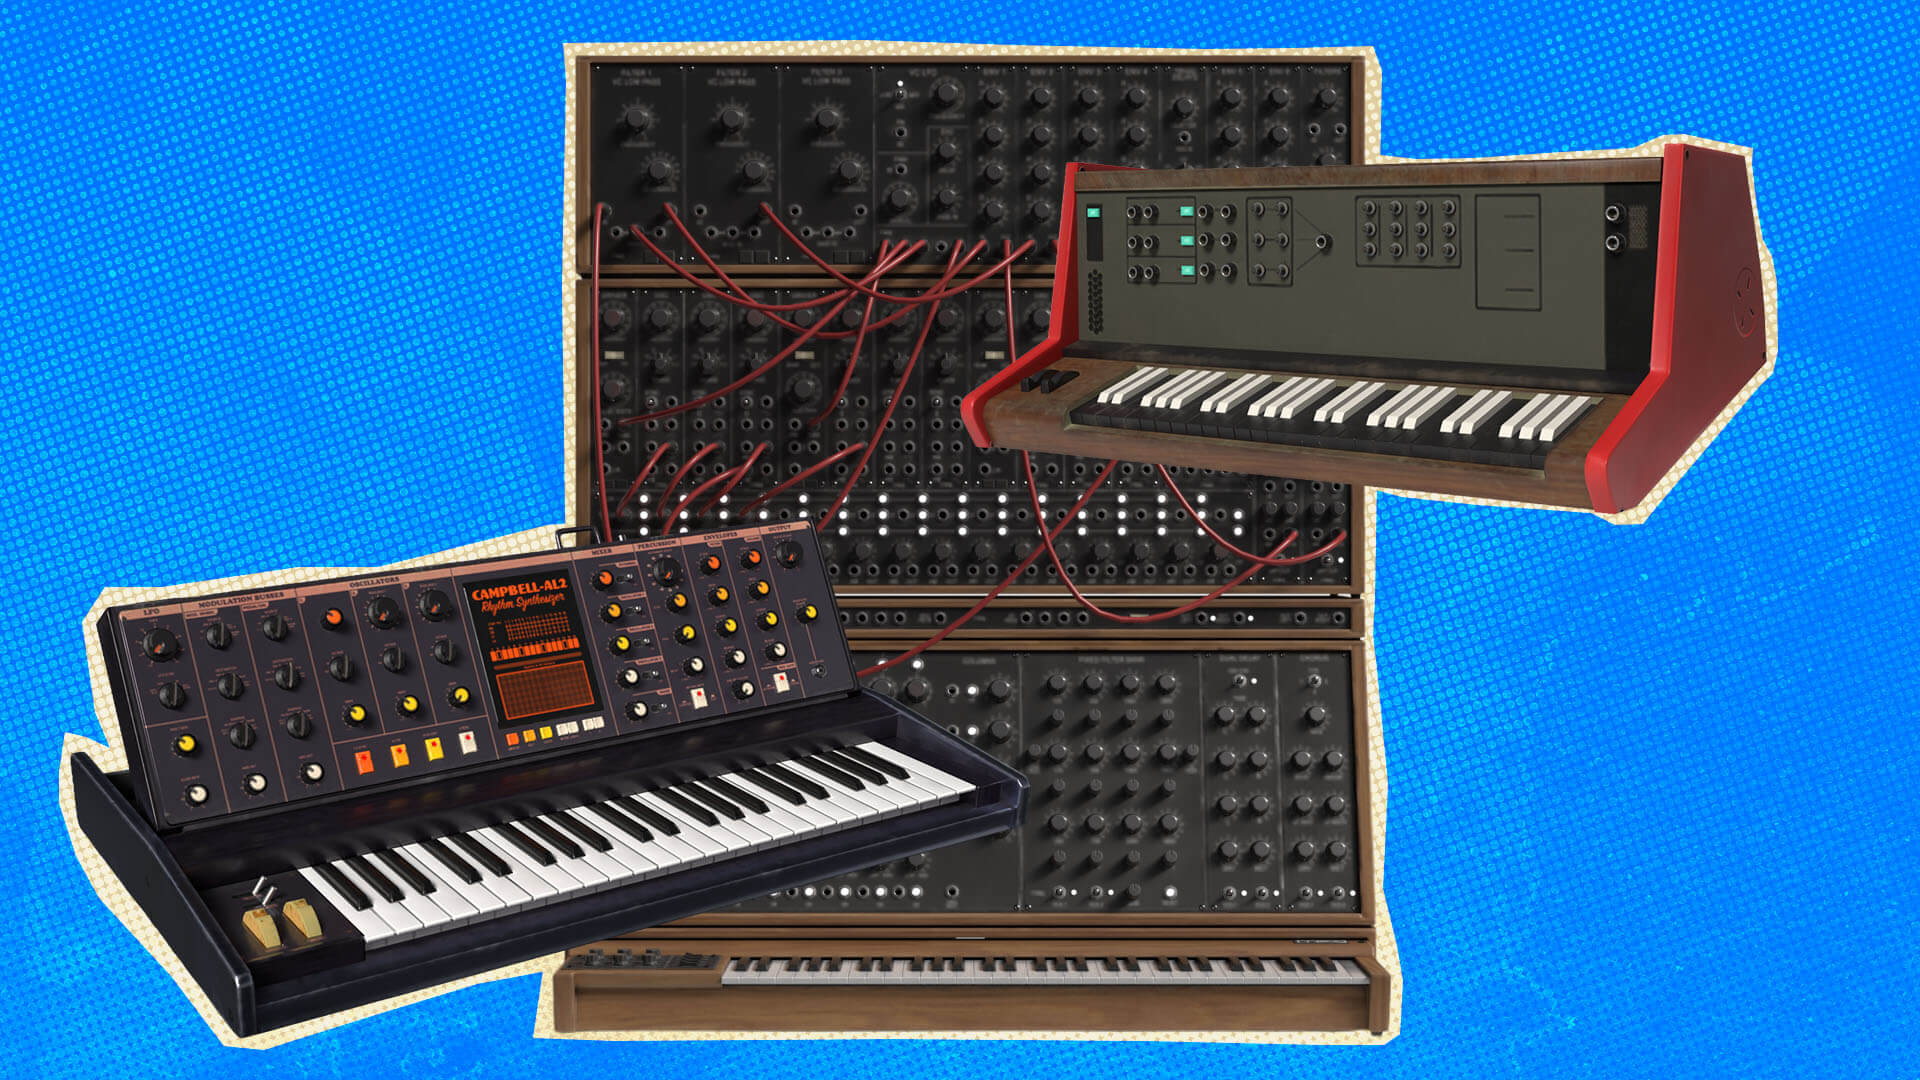
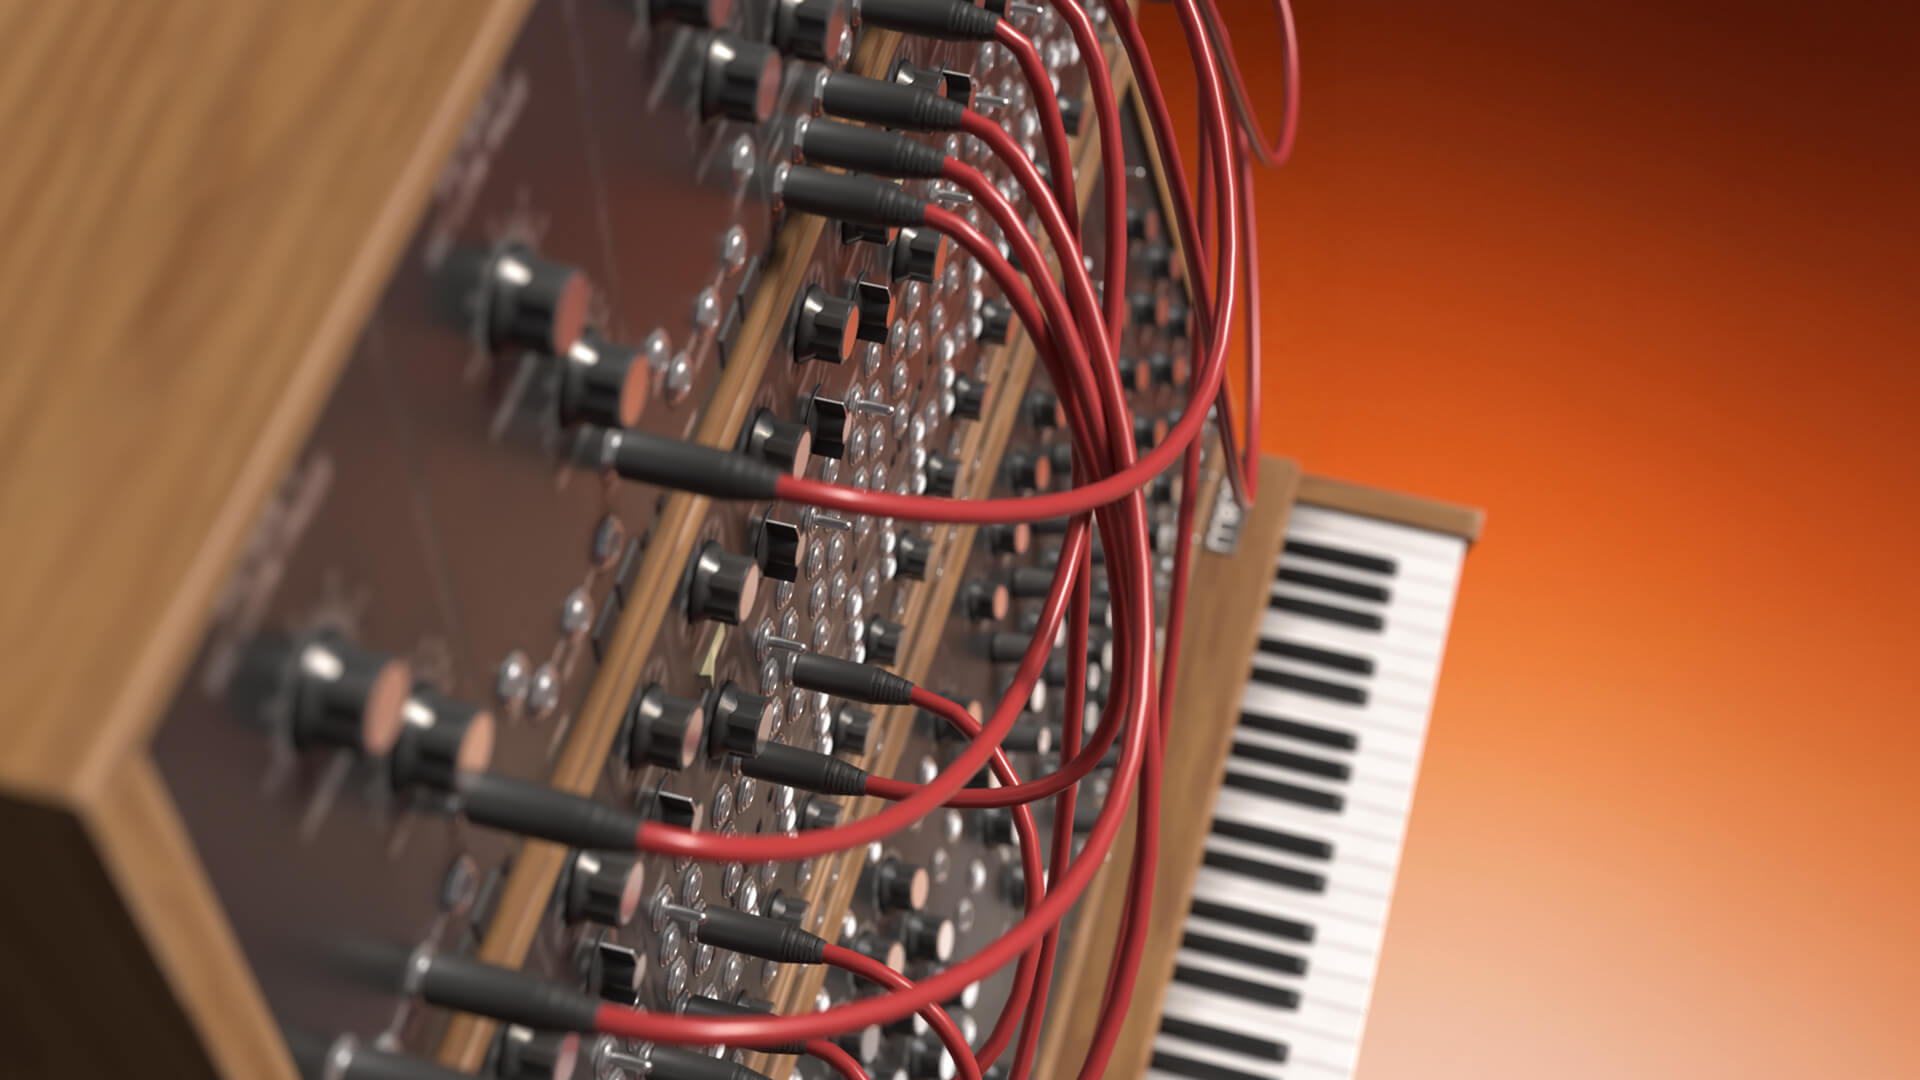
One of the signature features of the Rack is being able to flip it around by hitting the Tab key. Just like with rackmount hardware, this allows you to see and manipulate how audio and control signals are routed between devices. Control signals in the Rack are called CV (control voltage), and this includes gate (signals that trigger sounds), pitch, and modulation (automated control of device parameters). Routing can be done automatically or manually, which you can learn about here.
The two biggest priorities in designing and building our Rack devices have always been the strength of the sound and the experience of using them. A huge amount of love and care goes into fine-tuning both the vibe of the interface and the musicality of the results. This means the look and feel are addictive and satisfying, while the sonic sweet spots are wide.
You don’t have to struggle to get something that sounds good, but you can also experiment and explore in the most inspiring way. The best of both worlds.
How to set up the Reason Rack in your DAW
1. Install the Reason Rack plugin using these instructions before opening your DAW
2. Open your DAW and locate the Reason Rack plugin in your plugin browser.
If it doesn’t appear, check your plugin folder settings to ensure they match the install location.
3. Add the plugin to the appropriate type of track in your DAW.
“Reason Rack Plugin” works like any other instrument plugin, while “Reason Rack Plugin Effect” works as an effect plugin.
4. Route MIDI to the Rack just as you would to any other type of plugin.
Use your MIDI keyboard, piano roll, or other MIDI source. If you’re unsure how to do this, check your DAW’s manual for MIDI routing instructions.

5. To test out the Rack, load an instrument device. One of our favorites to start with is Europa.
Double-click your device of choice as it appears in the empty rack, or select one in the Device Palette. Each device you add will be added to the bottom slot of the rack by default, but you can also drag it to place it where you want.

6. Now play the Rack plugin by sending it some MIDI.
If the instrument isn’t making sound, check the MIDI receive indicator in the upper right corner of the Rack plugin. If the indicator isn’t reacting to your MIDI, make sure you’ve routed the MIDI properly in your DAW.

7. Add more devices to the Rack and experiment with their order. Here we’re creating an effects chain with Quartet Chorus Ensemble and Ripley Space Delay.
Drag devices to change their position without affecting their routing. Hold Shift and drag if you want their routing to change based on their position. Delete devices by CTRL/right-clicking them and selecting Delete. Replace a device by dragging another device onto it.

8. Notice the difference between full-rack effects and half-rack effects, which you can read about here.
Half-rack effects take up half the width of the rack and can be placed in side-by-side pairs. By default they are routed in the order in which they are added.
9. Take some time to explore different combinations of instruments, effects, and Players.
You can add as many as your CPU and RAM can handle. Now that you’ve gotten the basic setup figured out, let’s take a closer look at how things work.
A closer look at the Rack plugin

At the top of the Rack plugin, you’ll find the Global Panel, which gives you access to key functions like the Device Palette, the Browser, Undo and Redo, Settings, and the button for flipping the Rack around. Below that is the Rack itself, where you build your device chain.

To undo and redo actions in the Rack, you’ll use these Undo and Redo buttons. The Rack plugin has its own undo history which is independent from the undo history of your DAW, so the keyboard shortcuts that control undo and redo for your DAW will not apply there.

At the very top of the Rack sits the I/O device, which you can expand by clicking the triangle beside its name. This device handles the audio coming into and out of the plugin. Devices you add to the Rack will always be below this one.

The Browser also plays a major role in the workflow. This is where you load patches, samples, loops, and entire devices, as well as search by category, tag, or file type.
Exploring this is one of the best ways to see what the various devices in the Rack are capable of. It gives you easy, searchable access to an enormous range of sounds and presets. All of this can help you get inspired fast, not to mention hear first-hand the strengths of each device and how to leverage it.
Once you get used to how all of these pieces fit together, navigating the Rack starts to feel very fast and intuitive.
This is only the beginning…
It feels pretty good to be more familiar with the interface, right? As you get more comfortable, you’ll start to realize just how flexible and inspiring the Rack can be. In our next guide, we’ll talk in more depth about routing.
Until then, feel free to check out this section and this section of the Reason manual for more introductory info, and keep exploring how the Rack can fit into your creative process!
Ready to make music with Reason?