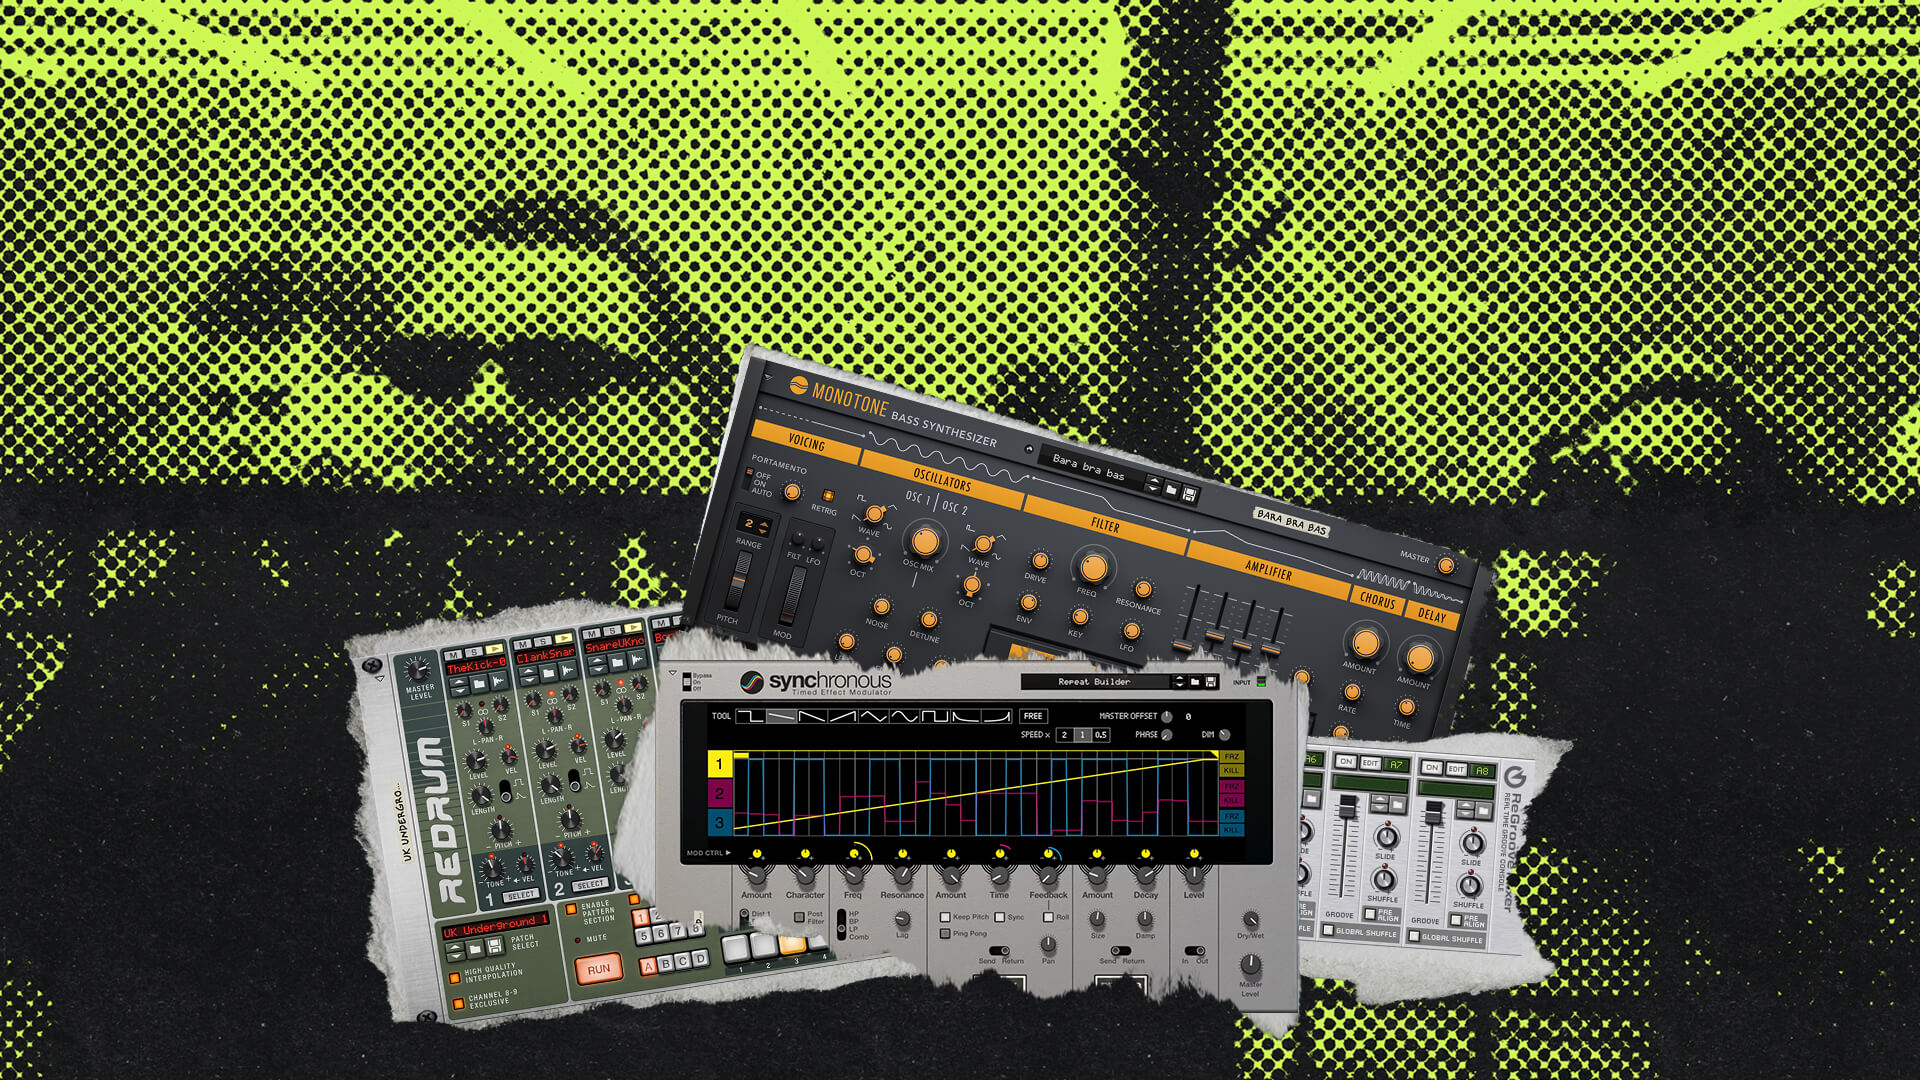
Ron Headback is back in The Dark Lab™ with a massive 2 step garage tutorial and five free combinators that will help you create some good old UK garage and 2-step. With Chord Sequencer, Ron will assist you in laying down lush, phasing Rhodes chords that practically write the track for you! Get into the groove with your 2-step breaks, choose from three different donk basses combined into one with Monotone and Bassline Generator, and explore unique vocal effects with Grain. Add depth with an Objekt marimba, and then increase the tension with Friktion for the finishing touches.
New to the genre? Start with our guide on How to Make UK Garage, then come back here to dig into 2-step.
Requires Reason+
Transcript
- 00:00 – Intro
- 01:05 – Five combinators in the rack
- 01:19 – Why start with the chords
- 01:39 – Rhodes chords with Chord Sequencer
- 02:44 – Phaser and RV7000 echoes on the Rhodes
- 04:04 – Chord variations with Note Echo
- 05:41 – Writing the 2-step beat
- 06:33 – Automating pattern switching
- 07:29 – Recording pattern switches with Direct Record
- 08:51 – Kick and snare
- 09:08 – UK garage’s drum and bass roots
- 10:12 – Hi-hats and probability
- 10:44 – The off snare
- 11:19 – Finding the spaces
- 11:54 – The dub snare crash
- 12:33 – Keeping the beat sparse
- 13:07 – The donk bass
- 13:47 – Keeping the bass in key with Bassline Generator
- 14:55 – Dirtying up the donk with Scream
- 16:53 – High donk and a wobbly sub
- 18:25 – Moving Grain: stretching a vocal with Pulsar
- 20:39 – Exposing Grain’s controls in the combinator
- 21:42 – Bassline Generator’s 64 steps
- 22:37 – Objekt and an arp
- 23:32 – Friktion’s swelling strings
- 25:59 – Putting it all together
- 26:48 – Wrap-up
Intro
What’s up, folks, it’s your man Ron Headback, and welcome to the DarkLab. In this session I’m going to be teaching you how to use Grain to add some real nice vibes.
Five combinators in the rack
Feel me? Okay, let’s have a look in the rack and see how we’re building this. Let’s have a look at our devices. This time you’re not just getting one or two combinators, you’re getting five. I had a real blast making these, and I hope you have a lot of fun using them.
Why start with the chords
Usually I start these tutorials with the beat, but I actually find writing 2-step quite tricky. If I’m just listening to the beat on its own, I’ve got this temptation to add too much into it, because let’s face it, 2-step and garage is a real sparse beat, and it’s the interplay between the kick, the snare, the bass, and the chords. So what better way to start than having a look at the chords?
Rhodes chords with Chord Sequencer
First up, we’re going to look at the phasing Rhodes. Now you might say, “Hey Ron, what is it with you, you’re using Rhodes again?” Well, I kind of think that the Rhodes is to garage and house what the electric guitar is to rock and roll, so it’s here to stay. Plus, if you lay down your chords first with Chord Sequencer and the Players, the track really is going to write itself. Chord Sequencer has been such a game changer: start out with some really nice chords, and then we’re set for writing the rest of the track.
So let’s listen to what these chords are like on their own. Just some nice chords there, just four bars, and it’s totally simple, nothing fancy.
Phaser and RV7000 echoes on the Rhodes
What we’re doing here with the Rhodes is, again, we’re not going too extreme on anything. What we have here first is the PH-90 phaser, and what I’m doing with that is I’m just panning it a little bit to the left. If you just listen to this on its own, you’ll hear what’s going on. It kind of adds that nice soulful feel, a kind of ’70s vibe. And if we bring that in with the dry, of course, it retains the full sound, so it’s just a subtle difference there.
But we want to add a touch of movement to this, so what we have here is the RV7000 reverb, and we’re using a preset called “Echo Swing Echoes,” and that is just to add a little double touch to the Rhodes. That’s sounding like this. Bring in the dry, and bring in the phaser. Some real nice vibes there, with the kind of double step that’s happening.
Chord variations with Note Echo
If you’re doing lots of piano and Rhodes and suchlike in your tracks, I really recommend you get to grips with Note Echo, because it’s your buddy for when you want to add little variations to your flat chords. What we have here first is a step length of 3/16, using the tempo sync. We have only one repeat, and we’re doing a one-octave jump, so you’re going to get that kind of nice bounce up into the air, like so.
Alternatively, what you could do is turn the tempo sync off and use just the milliseconds. It’s pretty short, about 130 milliseconds. This time we’re not doing a pitch jump, and we’re just making a simple pattern by turning some of them on and off, and this gives a nice bubbling effect, like so. See what I mean? It’s pretty sweet.
The last one that we have here is a strum effect. Again, tempo sync is off, and you put your step length really sharp, 98 milliseconds. We’re using four repeats here, but we’re just using the first three, and we’re doing a pitch jump, and that has a nice vibes-strum feel, like so. So that’s nice, dreamy chords that are just begging to have a beat laid down with them, so let’s have a look at the beat next.
Writing the 2-step beat
So let’s move into laying down our beat. I have to confess I’m not exactly the best at writing 2-step. I give it a good try, but I’m usually used to writing house beats. That’s okay when you’re writing house beats using a resolution of 16, because that is the default within Drum Sequencer and it’s just one bar, and that’s fine with house beats. But with 2-step, it really is all about variation, and I can’t stress this enough. It is all about keeping it simple, keeping it stripped down, keeping it sparse, and just moving in kicks here and there.
Like I said before, it is all about the kick, the snare, and the interplay of the bass within that. As I say, it can be a little bit tricky, but what you want to do is use the shuffle. Alternatively, you could use the Groove Mixer to get your own shuffle from swing, but in this case I’m just flipping this up to 73.
Automating pattern switching
So that we’re getting that good variation, I’m going to be automating the pattern switching. What you can do is click there and say Edit Automation, and that’s going to make automation for you. Now I’ll just go back to what I had, and we’ll come into the sequencer here. To enable a pattern switch, you just double-click, there’s one bar, and then you can choose which pattern it is that you’re going to play back.
Let’s just have a listen to what I made. You see, I’m going for P2, 4, 3, 2, 4, 3, just bouncing backwards and forwards. I’ll just check that out. Not too bad for a guy who usually just does house beats.
Recording pattern switches with Direct Record
Another thing you can do is, if you flip on Direct Record, you could just be switching your patterns on and off. Now, I have a control surface for this, but you could just be hitting keys and going through those patterns, so I’m going to show you an example of that. I’m just going to mute my patterns, and you make sure that you have armed the Kong for record, and then I’m just going to flip between some patterns and we’ll see what that sounded like. So here we go.
If we come back to the sequencer, we will see that that has recorded all the pattern switches directly in, with all the MIDI. You could go in there and edit it, because then you can go to 1/64, 1/128, and really just get that subtle swing on things. And of course, as well, making life easier: hit F8, bring up the tool window, and Explode makes things much easier for going around and doing your editing. So with that, let’s move on to the individual sound selection.
Kick and snare
Let’s have a look at our drum sounds. First up, the kick. You want something that’s quite short, with quite a dry feel to it, and complement that with the snare. This one’s really sharp, so go for something with a short decay.
UK garage’s drum and bass roots
Now here’s just a little word on history. You may or may not know that UK garage’s history is so much embroiled in drum and bass and jungle. I mean, that’s where it comes from. So a thing I tend to do, and I would recommend, is if you have old sample packs of drum and bass or jungle or old breaks, go in there and delve into the snares. Almost all the snares I’m using here are from old drum and bass packs.
So we’ll just check the kick and the snare, really simple: just the kick on the one, then on the third here, and then just alternate. So here we go. Now, this is why I said write your chords first, rather than doing just your beat: UK garage beats are so sparse, and you’re just listening to it, maybe thinking there just isn’t really anything going on here, and that’s when you start adding things in. Well, that’s what I find personally, anyway.
Hi-hats and probability
So, bringing in an extra bit of movement, we have our hi-hats, and here I’m using something quite short and metallic, with a little bit of a shaker feel to it. I’ll check what that’s like. On the first hi-hat, a little bit of probability, 60 percent, and then on the third hat, 30 percent, just to kind of spice things up a bit. So you hear already there’s at last some movement coming into that.
The off snare
Now the next thing that is really important, and it adds that garage kind of sound, is the off snare. So here, go through and find another snare sound that accentuates the main snare. Here’s quite an alternative sound, so we’ll check what that’s like. And it’s then with your pattern switches and variations that you can put an off snare in there, put an off snare in here, just back and forth.
Finding the spaces
A thing I find is pretty useful is to look for the spaces in between your hi-hats and your main snare. Of course, you’re going to be moving that main snare around somewhere, and that’s where you want to try and drop in a closed hi-hat, maybe a little bongo or a tom, or that off snare. You might not get it the first couple of times, so just experiment: just drop one in. Does that work? If it does, copy it to a pattern, and then you can go back and flip in between things.
The dub snare crash
Now, in this case I wanted to keep things fairly simple, but the thing I wanted to add was a kind of dub snare crash. If you listened to drum and bass back in the day, you will know that snare. What I’m doing here is this is 0.25, so that it’s coming in just as a little extra. I’m just showing you for this demo, because this is just one bar, but that’ll be on the fourth, and you’re going to get that kind of dubby snare crash at the end there, like so. So just a little trick there, because I’m sticking to the one bar as I explain this.
Keeping the beat sparse
Now, as I said, 2-step can be pretty tricky. It’s just that temptation to add extra stuff in. Just fight that, find the spaces, try and be a bit Zen about it. I mean, if programming 2-step beats was like Shaolin beat mastery, with level one being a novice and level five being an absolute Shaolin master, I would only consider myself a one, but I’m trying. You can look for those spaces, just drop in your snares and your off snares, and things will work out.
The donk bass
Let’s move on to the next sound. No UK garage or 2-step track would be complete without the donk bass. Just as the TB-303 is to acid, the donk bass is to garage and 2-step. Now if we have a look here, who’d have thought that just the coupling of a sine wave and a triangle, and just playing with the octaves, we get this sound that’s used in so many places. So let’s just check that out.
Keeping the bass in key with Bassline Generator
Now remember how I said at the start that if we get our chords down via the Players, Reason is going to write the track for us? It has so totally done that. What we’re going to do is use Bassline Generator here, and what you want to do is take the root note CV in and pull that up to the root note CV out of the Chord Sequencer: root note CV out, down into the root note CV in. That is going to keep everything in key with the chords.
I got this on the second or third attempt. I just had to do a little bit of editing in there, just hit randomize, and the second or third one was just like, yep. Check it out with the chords. Total vibes, just working really, really nicely.
Dirtying up the donk with Scream
Now, I’ve done a couple of other tricks in here. Depending on the kind of style of 2-step that you’re writing, you might want to dirty things up a bit. So what I have here is I’ve hooked up Scream, because I’m bringing it through Scream, and of course I’m just going to channel it through a compressor so that things don’t get too wild. For the combinator that you can download, you’ll see that the controls are here, we’ve got Damage up here, so just flip this through and you can see what it’s like.
That can begin to sound a bit too harsh. And just a word in general about donk basses: put your amp attack up a touch, just a little bit, because if you don’t, it can sound a bit too clippy. You just begin to get that kind of stick sound, which might be what you’re after. That can almost change the actual melody of the bass itself. If I crank this up, you can hear what it’s like. That’s sounding pretty neat.
High donk and a wobbly sub
Some other little tricks you can do with your donk basses, and I’ve put them in here as combinator controls: I’ve got High Donk, and that is just putting oscillator 2 up one octave. We’ll just check that, turn it off and on.
If that’s all too donk for you, another thing you can do is turn your donk into a bit of a sub, almost a bit of a wob wob. I’ve put in a button here, and we’ll just see what that is doing. If you come down here and look at the filter envelope, that is increasing the attack and the decay. I’ll just check that. Couple it with the high donk. So there you go, you’ve got two basses in one: a donk and a kind of subby sound. Okay, with that we’ll move on to the next sound.
Moving Grain: stretching a vocal with Pulsar
Now, moving on to what I mentioned at the start of the show, and that is Moving Grain. I wanted a vocal to go along with what I’d written here, so I just dove into my samples and found this one, and it just wasn’t working out for me. As I’ve said before, take a device that it shouldn’t be working with. This is real Reason off-label usage, which I think is a thing that’s exclusive to Reason: you can just go into the devices and go about it with a what-if approach. I think that’s totally the thing with Reason, you just kind of go in and think, what would happen?
So I dropped that sample into Grain because I wanted to stretch things out a bit, and I was playing around with the zoom and the start and end points. I really dig Pulsar, so I was like, can I control the start and end points with Pulsar? It was that “what if” moment.
In order to do this, what we see here is we have a Pulsar here, and in the combinator I have the Grain, and I put the start point and the end point there, and then that can be available as a CV in for Pulsar or any other such device. So I’m taking the start and bringing it down here, and I’m bringing the end down to here, and you can see what that is doing: it’s just shifting and phasing around. I really recommend you play with that, and not just with vocals, with all kinds of sounds. You really do get a nice elongation, and because the start point is shifting backwards and forwards with the end point, you’re getting a slight reverse sound. So we’ll just check it again. So that’s Moving Grain. Sorry, it’s a pun, but I couldn’t resist.
Exposing Grain’s controls in the combinator
In this combinator, what I’ve done is I’ve exposed the scroll and the zoom, the start and end points, like here, like so. There’s a dry and a wet, because we’re breaking it through here, and I really recommend you just drop some of your vocal samples in here and play around with them. You’ll be really surprised. At first, maybe some sounds just won’t quite work, but go through some of your sounds and you’ll be like, wow, that’s really changed things. I had a blast making this and I hope you have a blast using it too.
Other little things we’ve added in here: we’re using the Grain delay switches on and off there, and we also have the Echo, because you maybe want to really rinse things out, like so.
Bassline Generator’s 64 steps
Another little off-label usage: most of the Players within Reason only have 16 steps, but Bassline Generator goes all the way up to 64. I tend to try and stay in the rack as much as possible before committing to the sequencer, so I just wanted to play that one note, and I was like, okay, well this has got 64, that’ll be enough, because I’m going at a rate of 1/4 and then making variations on it. It’s the interplay with the sounds that are going on there, and you get some really random patterns. So try it. Pretty neat, huh? So give Moving Grain a try, and have a blast with it.
Objekt and an arp
Now here’s another little sound, nothing too fancy, and that is using Objekt with the Rhodes. We want something to accentuate it when we’re winding things down and just making a lull in the song, so we’ll check out what that’s like. It just adds that kind of vibe.
We’ve got here a little arp, and again, remember how I said with the Chord Sequencer, this is using the same chords as the Rhodes and then coming through an arp, so we can speed that up, make it higher, make it faster, make it slower. So that’s just a little extra something to put in there.
Friktion’s swelling strings
Okay, last but certainly not least, it’s those swelling tremolo strings. We’ll just check them. They just set things off with a bit of tension for when you want to build things up. Now that is coming to you courtesy of Friktion. Remember how I said about the chords: get them down at the beginning, and it’s going to set you right for the rest of your song. This is using those chords again from the Rhodes.
To get that kind of swell effect, you’ll see there’s a button here, Swell, and what that is doing, as you’ll see, is the articulation, the release, and the sustain are sharply being brought up to bring that little swell. And how that is happening is, of course, Pulsar, the Swiss Army knife of Reason. What I have done is, in the combinator you’ll see there is sustain and release; if we flip into the editor, we’ve put sustain and release so that it can be used as a CV control in on the combinator itself. What I’m doing is a nice slow rate, 44, with a saw ramp at a reasonable level and a bit of lag, so I could get it on the one. It’s creating that nice swell.
Another thing that’s pretty neat is, because it’s using those same chords, put it through a Dual Arpeggio and you can get this. Another neat thing is you can play with the rate, which is just bringing up the arp rate, so just check that. I’m just having another one of those “what if” moments: what if I had Pulsar flip the rate? That’s for next time.
Putting it all together
So now we’ve been through all the devices, let’s bring it all together.
Wrap-up
So there you have it, that was Moving Grain. All five combinators are available for download. I had a blast making them, and I hope you have a blast using them too. I’ll catch you in the next one. Peace.