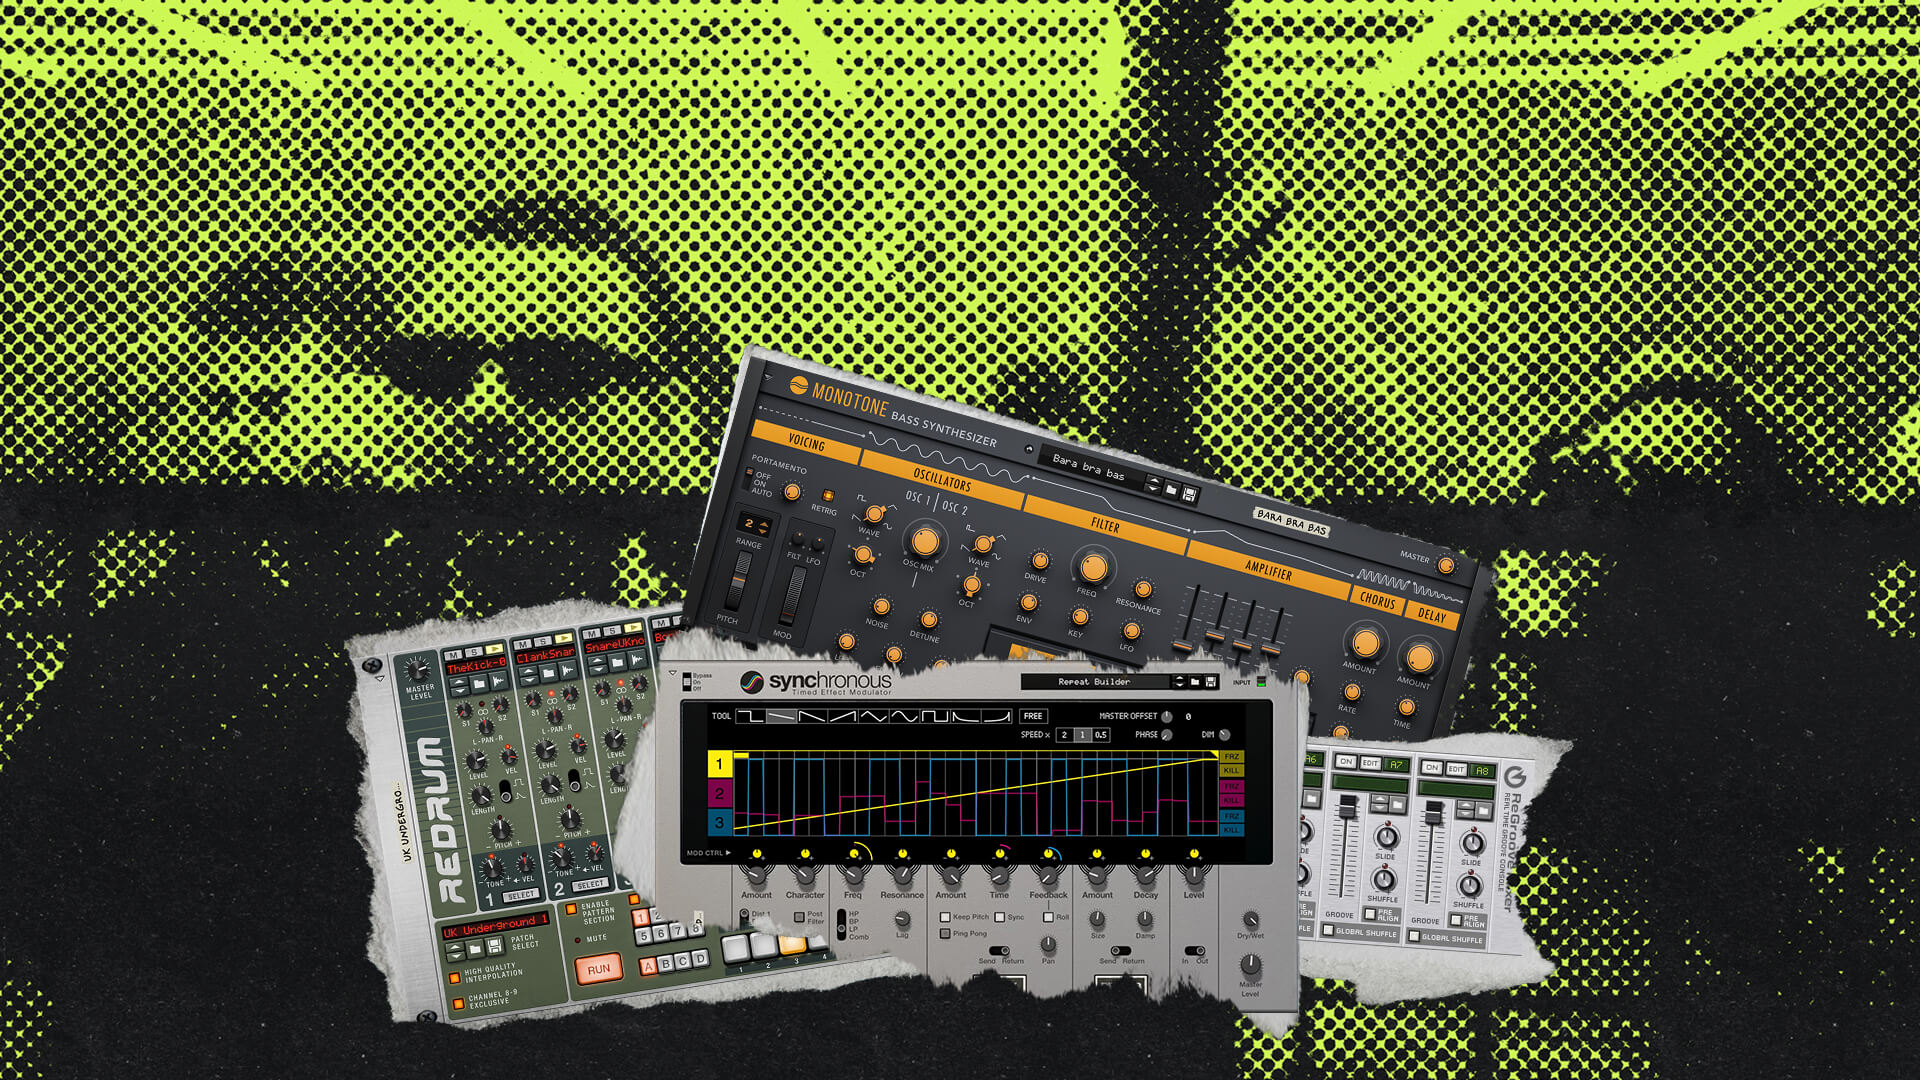
Try basing your next song on a part with long notes that get transformed into a cool rhythmic pattern. It’s easy — check out this video where Ron Headback walks you through this great trick. Ron uses a sampled drone chord in his example, but you can use the same technique with any sample or chord progression where the notes are held out.
To get started even quicker, download Ron’s amazing combinator!
Requires Reason+ or Reason 12 and Polar
Transcript
- 00:00 – Intro
- 01:24 – Looking in the rack: the source sample in NN19
- 01:47 – Alligator
- 01:58 – Polar, delay, Unison, and Beat Map
- 02:09 – Why Beat Map is routed to MIDI, not an instrument
- 02:53 – Programming custom Alligator gates with CV
- 03:59 – Bringing in the high-pass gate on the hats
- 04:44 – Beat Map’s shuffle and different maps
- 05:27 – Attack and release on the combinator
- 06:49 – The Bright control: a Polar harmonizer
- 07:48 – Delay and Unison for fattening the sound
- 08:06 – Taming chirps with a compressor and the Dry/Wet control
- 09:06 – An extra low-pass filter from the NN19
- 09:47 – Building the beat: Kong and the drum sequencer
- 10:44 – A reversed, pitched-down clap for variety
- 11:53 – A reversed, delay-soaked cymbal
- 13:27 – A vocal hit for inspiration while writing
- 14:26 – Pitching drums for extra edge and drama
- 15:10 – Adding sub bass with SubTractor
- 16:17 – A high string with Scenic
- 17:10 – Using the technique with any synth or sample
- 17:27 – Trying Quad Note Generator instead of Beat Map
- 18:29 – Not just for dub: a UK garage example
- 19:11 – Wrap-up
Intro
What’s up, folks? It’s your man Ron Headback, and welcome to the DarkLab. I’m going to be showing you how you can take a simple sample like this, and turning it into something subterranean and up, something like this — which should hopefully allow you to write something like this.
Looking in the rack: the source sample in NN19
You feel me? Okay, let’s have a look at the rack and see how we build this. Okay, let’s have a look in the rack and see what we’re using here. First up, we have an NN19, and what that has is a really badly looped sample, but that doesn’t matter. And when you’re picking your own sounds, try and pick something about lo-fi, a bit subdued, and it doesn’t have too many high frequencies.
Alligator
And next up is Alligator — I have to confess, I love Alligator, I mean I almost classify it as an instrument as well. And in fact, I’m going to do some really interesting stuff with that.
Polar, delay, Unison, and Beat Map
Next up we have a Polar, a delay, a Unison, and surprise surprise, Beat Map. And you’ll notice that this is connected to our MIDI out, and the reason for this is: if we go and take a Beat Map, and we just put it on top of our NN19, and we crank this up, you’re going to get a result that sounds like this — and you don’t want that.
Why Beat Map is routed to MIDI, not an instrument
What’s happening there is the Beat Map is triggering the notes in the NN19, and what we want to do is we want to have the Beat Map opening and closing the gates on the Alligator. Now, you probably know that the Alligator has built-in patterns for opening and closing the three gates, high-pass, band-pass, and low-pass — but what you may not know is that you can actually program your own ones.
Programming custom Alligator gates with CV
And how we do this is through CV gates, and this can be done with pretty much any player or sequencer that supports gates. So what we’re going to do is we take Gate 3, and we’re going to put that onto the snare — and I’ll just take a copy of this so we can reset it, and I’m going to take this right down for the snare, and then start cranking it in slowly.
So what you can do there is the snare of Beat Map is opening and closing Gate 3 on the low-pass, and you see that you get kind of a nice rhythmic effect there. You can also play around with the spawn and the density, and you get, you know, various results. Just experiment, play around, find your way on Beat Map, and you’ll find your sweet spot.
Bringing in the high-pass gate on the hats
To one of the other gates now, so I’m just going to dial that down, and I’m going to bring in the high-pass — and the high-pass is on Gate 1, and that is going to the hat. So again, we’ll take it right down and we’ll gradually bring it in.
You’ll notice there, though, quite a bit of delay on the high-pass — that just kind of, because the low-pass, you know, it’s really under the earth and dubby, where with the high-pass it’s really bringing it up into the sky. You have lots of delay tail on that, it kind of adds a good contrast for the two sounds.
Beat Map’s shuffle and different maps
One of the reasons that we’re using Beat Map is because there’s really good fidelity and control of the shuffle, and you also have the different maps that you can use. So I’ll just go back to Gate 3, and we’ll change the map, and we’ll play around with that.
So again, by changing the maps, changing the XY, changing the intensity, you’re going to get some really interesting results. So we’ll play around with it, find what you can, and I’m sure you’ll find something pretty cool that you can work with.
Attack and release on the combinator
Going back to the Alligator, there’s some other settings that we’re controlling here, and you can control them with the combinator up here. First up is you’ll see the attack and the release — so I’m going to take these right down, and gradually bring them back in.
And you’ll notice, as I’m bringing that in, at first it’s quite staccato and stabby, but as you gradually bring it in more, it’s sounding a bit smoother. And we also have the attack, because that can lessen the stabbiness and the staccato, for example, that — so you can play around with that to get the kind of sound that you want. I tend to be a little bit of attack and kind of slightly long release.
You’ll also notice the panning is set a little bit, and there’s nothing worse than something that is just dead center — always kind of pan your stuff to add a little bit of extra space, because this is so kind of spacious and dubby and undulating around, you kind of want to play with that and use that space.
The Bright control: a Polar harmonizer
Now, you may have noticed that there is a kind of bright shimmer that was going on when I was bringing things in, and we have here, on the combinator, a control called “Bright.” What I’m going to do is I’m going to bring in the high-pass a little bit, and we’ll just turn up the Bright, and we’ll see what that’s doing.
Feel me? What’s happening there is we’re using Polar, it’s kind of a harmonizing effect, and all we’re doing is we’re taking the shifter and we’re putting it up by 12 semitones, and the Bright control is basically just bringing up the feedback and the volume of Shifter 1. And so that adds a really kind of nice cosmic, shining shimmer to things, because the low-pass is really down there in the earth, whereas the high-pass with the Polar is really kind of dancing up in the air.
Delay and Unison for fattening the sound
Next up we have a delay and a Unison — the Unison is just there to fatten up the sound a little bit, and the delay is on all passes, on the low-pass. You wouldn’t think it’s got that much of an effect, but it really adds to that kind of pulsation, and the high-pass of course, with the other delay, things are already kind of dancing and triangling around.
Taming chirps with a compressor and the Dry/Wet control
Now, when you’re using Alligator, because you’re playing around with a lot of frequencies, things can begin to chirp and bark a little bit — that’s why we’re going to put in a compressor here, because that’s just going to keep things under control, and it also adds to that kind of pulsating and pushing-and-pulling effect.
And lastly, what we have is the Dry/Wet, and that allows you to bring in the source signal through the Alligator — so for example, here, so marrying that can, you know, really enhance the sound and take it onto a more kind of smoother plateau, whereas when it’s switched off, it’s a lot more staccato.
An extra low-pass filter from the NN19
Oh, and also what we have, if we didn’t need it, is another filter — this is just the frequency from the NN19, and that’s particularly good when you’re bringing in the Bright, because things can get really shimmering up there, so you might want to bring them down a little bit.
Building the beat: Kong and the drum sequencer
All right, so that’s sounding pretty good, I’m sure you’ll agree — with this kind of sound, it’s just begging to have a beat put on top, so let’s go and have a look at that next. So looking in the rack, you’ll see we have Kong and a drum sequencer — we’ll just go through the individual sounds.
A kick called “Faithful,” on a four-to-the-floor pattern. Next, bringing in the clap — you’ll notice there that there’s quite a lot of reverb on the clap, that’s because without it, it’s just sounding a little bit snappy, and especially when the dubs are on, it doesn’t really cut through. So see that — bring it on. You’ll see that as well with the claps, as I’m just bringing in a little bit of probability, just before the second clap, and that’s just to add a little bit of variety.
A reversed, pitched-down clap for variety
Next up is a thing I like to do, is take a copy of the original clap and reverse it and pitch it down a little bit — again, this is for variety, and it’s just to add a kind of nice sweep and turnaround to the beat, so that it’s just not kick-clap, kick-clap all the time. So we can just check that — so give that a try, it adds a nice kind of sweep to things.
Next up, we have standard hi-hats — you’ll see there, again, playing with the probability just before the third hat, just having it bit 40, and that’s kind of giving that little double-tap, little hustle. Usually that kind of suits more boisterous and more kind of jacking tracks, it doesn’t really seep down, but this again, it’s just a little bit of variety, so sounding a little bit of step into things.
A reversed, delay-soaked cymbal
Now, talking about that, what we also have is a reversed cymbal, and that is soaked in auxiliary delay — I really recommend that you play around with a lot of the auxiliary effects, especially the timings as well, because you can kind of chance upon some more rhythmic elements and timings and percussive effects that you wouldn’t normally have.
For example, the drum sequencer is just 16 steps — if you had a 64-step sequencer, it would probably be too much; if you had a 32, it would be okay, but 16, because it’s quite limited, it’s forcing you to think in different ways and be a little bit more creative. So, you know, play around with your probability and your effects, especially with the probabilities, because the more you play with that, that’s actually going to build your other patterns — as I’m kind of going through and I’m making beats, I play with the probability and I’ll chance upon things that sound a lot more interesting, so I’ll copy and paste them and put them into my next pattern, and then I can just cycle between them and get far more variety.
A vocal hit for inspiration while writing
You feel me? Next up, we have something you shouldn’t normally do in your drums, but I’d like to do now and again, is this — and that is our vocal hit that’s coming in here, with lots of auxiliary delay, and just bouncing around. And as I say, you shouldn’t really do that in your drums — I do it because when I’m writing something, I like to just go into the Kong and just focus in and lock in on the groove and the beats, and sometimes I’ll drop in melodic elements and different samples and things like that.
I’ll maybe take the challenge one day of just two Kongs with four drum sequencers and see if I can do a whole track, but that’s maybe a different video. And that’s the reason I do it, is just to kind of stay in focus for like the beat, the groove, you know, the rhythm and everything — you know, of course afterwards you’re going to take that vocal sample and separate it out, so you’re not jumping in between lots of devices. Just play around, and you get some interesting stuff going on, because vocal hits can be kind of percussive from time to time.
Pitching drums for extra edge and drama
Next, another thing I like to do is pitching my drums. Sometimes when you’re writing a track, you’ll think that your beat just isn’t kind of sitting quite right, especially with the tuning and things like that — play around with the pitch, and you’ll kind of find that sweet spot. I mean, here I’m just taking it just ever so slightly, but it just gives me that extra edge.
Playing with your pitch can also be good for drops — what you should do is bring the pitch right up, and then just when you’re going to slam it back in, take the pitch back down to where it should be, and you get some pretty cool results.
Adding sub bass with SubTractor
Next, for a nice dubby track like this, you want to bring in some sub — we’ll use their namesake, SubTractor. You’re going to want something that’s just kind of low and lo-fi — I mean, this preset’s actually called “Lo-Fi Bass,” the sound and lush.
When you’re writing your basslines, try and not make them too hectic — I always have this temptation to just add in too much, like I say, less is more. And another thing is, I am a little bit bass-deaf, sometimes when I’m writing a bassline, I kind of find that when I’ve exported everything, because it’s a dubby sound and the sub is quite low, things are slightly not in tune, and it’s your EQ, and you begin to notice that — so shift your bass up by an octave, and you can really get that fine-tuning to see that it sits correctly in the dubs.
I use this trick, so if you are like me and you’re a little bit bass-deaf, give this a try.
A high string with Scenic
And lastly, it’s a little bit of a cliché, and that’s the high string — we have the Bright on the dubs, and that’s kind of shimmering things up. We might want to take things a little bit up into the cosmos, bringing the shine down for that; I’m using Scenic, it’s a synth that’s overlooked, but I’m really loving it, so I’d recommend that you revisit it — it’s great for atmospheres and strings, and the really cool thing with that is you can put in your own samples. So if I just bring this in a little bit and filter it in — you see that it’s pretty lush, nice spacey vibe that’s going on there. So give Scenic a try.
Using the technique with any synth or sample
Now, this technique isn’t limited to an NN19 — you can put any of your synths in there, Thor, Parsec, or even some VSTs. The main thing is, you know, who can hop onto an Alligator and get these kind of interesting sounds. You don’t always have to use Beat Map either, and you know, you can try any of the players.
Trying Quad Note Generator instead of Beat Map
For example, if we bring in Quad Note Generator, and we’re going to hook the Gate 3 of that to the gate there, and we’ll just bring this in and gradually turn that up — so you want to bring in the high-pass, and bring out on a number two, and we’ll enable that, it’s down a touch.
The thing with Quad Note Generator is it’s a little bit more visual, but you can see what’s going on — with Beat Map, it’s a bit crazy, you’re trying to find your way. So, you know, you can try any of the players.
Not just for dub: a UK garage example
And lastly, this isn’t just particularly limited to making dub tracks — the people at Reason had actually asked me to write a UK garage and bass breaks track, so I’m just going to take the tempo, that’s 138 beats per minute. So there, you see, two genres in one song, and not just limited to one style.
Wrap-up
Play around with Beat Map, play around with Alligator — this combinator is available for download, so I hope you get a lot of fun out of it, experiment around and see what you can get. If you like this track, it’s going to be available on my Bandcamp as well, so I’ll see you on the other side. Peace.