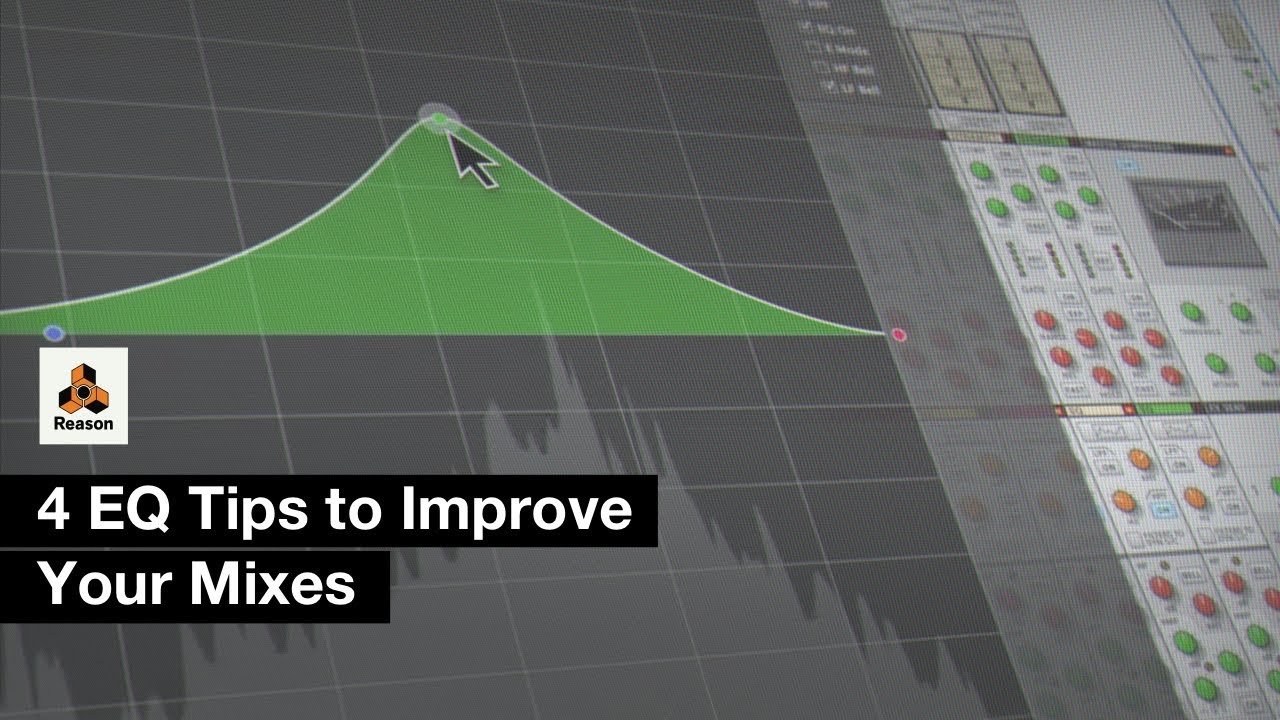
Equalizers change the way an instrument sounds by altering its frequency response. Just like a car stereo, they can be used to add more “bass”, turn down the “treble” and much more. Most EQs use multiple bands to give you control over separate frequency ranges. Parametric EQs are typically broken into low, low-mid, midrange, high-mid, and high frequency bands. Each band uses three basic controls to shape sounds: frequency, gain and “Q”, or quality.
Not all EQs feature Q controls, but those that do offer more flexibility when tweaking your tone:
The frequency control allows you to select the specific frequency you want to adjust for each band. The gain control is used to control how much you cut or boost the selected frequency.
The Q knob adjusts the slope of your EQ curve. Bands with low Q settings have a gentle slope that affects a wide range of frequencies, while high Q settings offer a more focused shape.
Cutting frequencies is called subtractive EQ, and works well for making tracks sound cleaner or clearer. Boosting frequencies is called additive EQ, and is better for emphasizing a specific frequency range in a recording.
In addition to these controls, there are three basic EQ shapes: filters, shelves, and bells.
Filters do exactly what the name suggests—they filter out unwanted frequencies above or below a certain point. Filters are useful for removing unwanted low-end rumble from recordings, or taming the high-end on harsh-sounding instruments.
Shelf EQs can be used to cut or boost frequencies above or below a certain point. Shelves are commonly used to add low-end to kick drums, add high-end to guitars, or toning down overly bright cymbals.
The bell is the most common and versatile EQ shape. With a high Q value, they offer hyper-narrow curves ideal for pinpointing and reducing problematic frequencies. With a low Q value, bell curves offer a subtler slope over a wider range of frequencies, which works well for boosting.
Learn how to carve out space for each instrument using subtractive EQ. Train your ear to identify problem frequencies using the sweeping technique.
Now that you know how to use an EQ, it’s time to get mixing!
Transcript
- 00:05 – Intro
- 00:11 – Tip 1: Cut, don’t boost
- 01:18 – Tip 2: Finding problem frequencies by sweeping
- 01:49 – Tip 3: EQing the kick drum
- 02:44 – Tip 4: EQing vocals
- 03:22 – Wrap-up
Intro
Hey, this is Mattias with Propellerhead Software, and in this video I’ll give you four EQ tips that’ll make your mix sound better.
Tip 1: Cut, don’t boost
When EQing sounds, a good rule is that it’s better to take out what you don’t want, rather than boost what you do want. Since many other sounds can occupy the same space as the sound you’re EQing, just boosting these frequencies won’t make the mix sound less cluttered. Instead, lowering those frequencies on other tracks can leave some space for the sound to cut through.
For example, if you want a bass or a kick to not drown in a mix, you can roll off some low end on the other tracks with a high-pass filter, to leave the kick and bass some space and keep the mix from becoming muddy. Much better — compare this to how it was before.
Tip 2: Finding problem frequencies by sweeping
If one of your instruments has a part of the sound you’d like to tone down, you probably want to lower that frequency. The best way to find these frequencies is to apply a lot of gain with a narrow Q, and then sweep the frequency back and forth until you hear that you’ve hit the right area. When you find the stuff you don’t like, you can simply pull the gain down to lower it. This also leaves some room for the vocals.
Tip 3: EQing the kick drum
The kick drum is a central part of music, and might need a bit of extra EQ attention to sound great in the mix. For some extra weight to the kick, try a small boost around 50 to 150 Hz — setting the low-frequency band to Bell mode in Reason’s mixer can help you hone in on this area without adding much of the surrounding frequencies.
To reduce boominess and clean up the low end, setting a high-pass filter around 50 to 60 hertz can really tighten up your kick. You can also try boosting around 4 to 7 kHz, which adds a bit of snap to the kick drum. Much better — just listen to the difference.
Tip 4: EQing vocals
When EQing vocals, you want to make sure that they pop out of the mix. The presence is often at 2 to 4 kHz, so either boosting here, or leaving some space around these frequencies, will make sure your vocals cut through the mix.
And if your vocals are sounding a bit dull, you can try boosting around 10 kHz and over — this is the air of the vocals, and can really help a vocal track sound more open.
Wrap-up
So there you have it — four EQ tips for a better mix. Until next time.