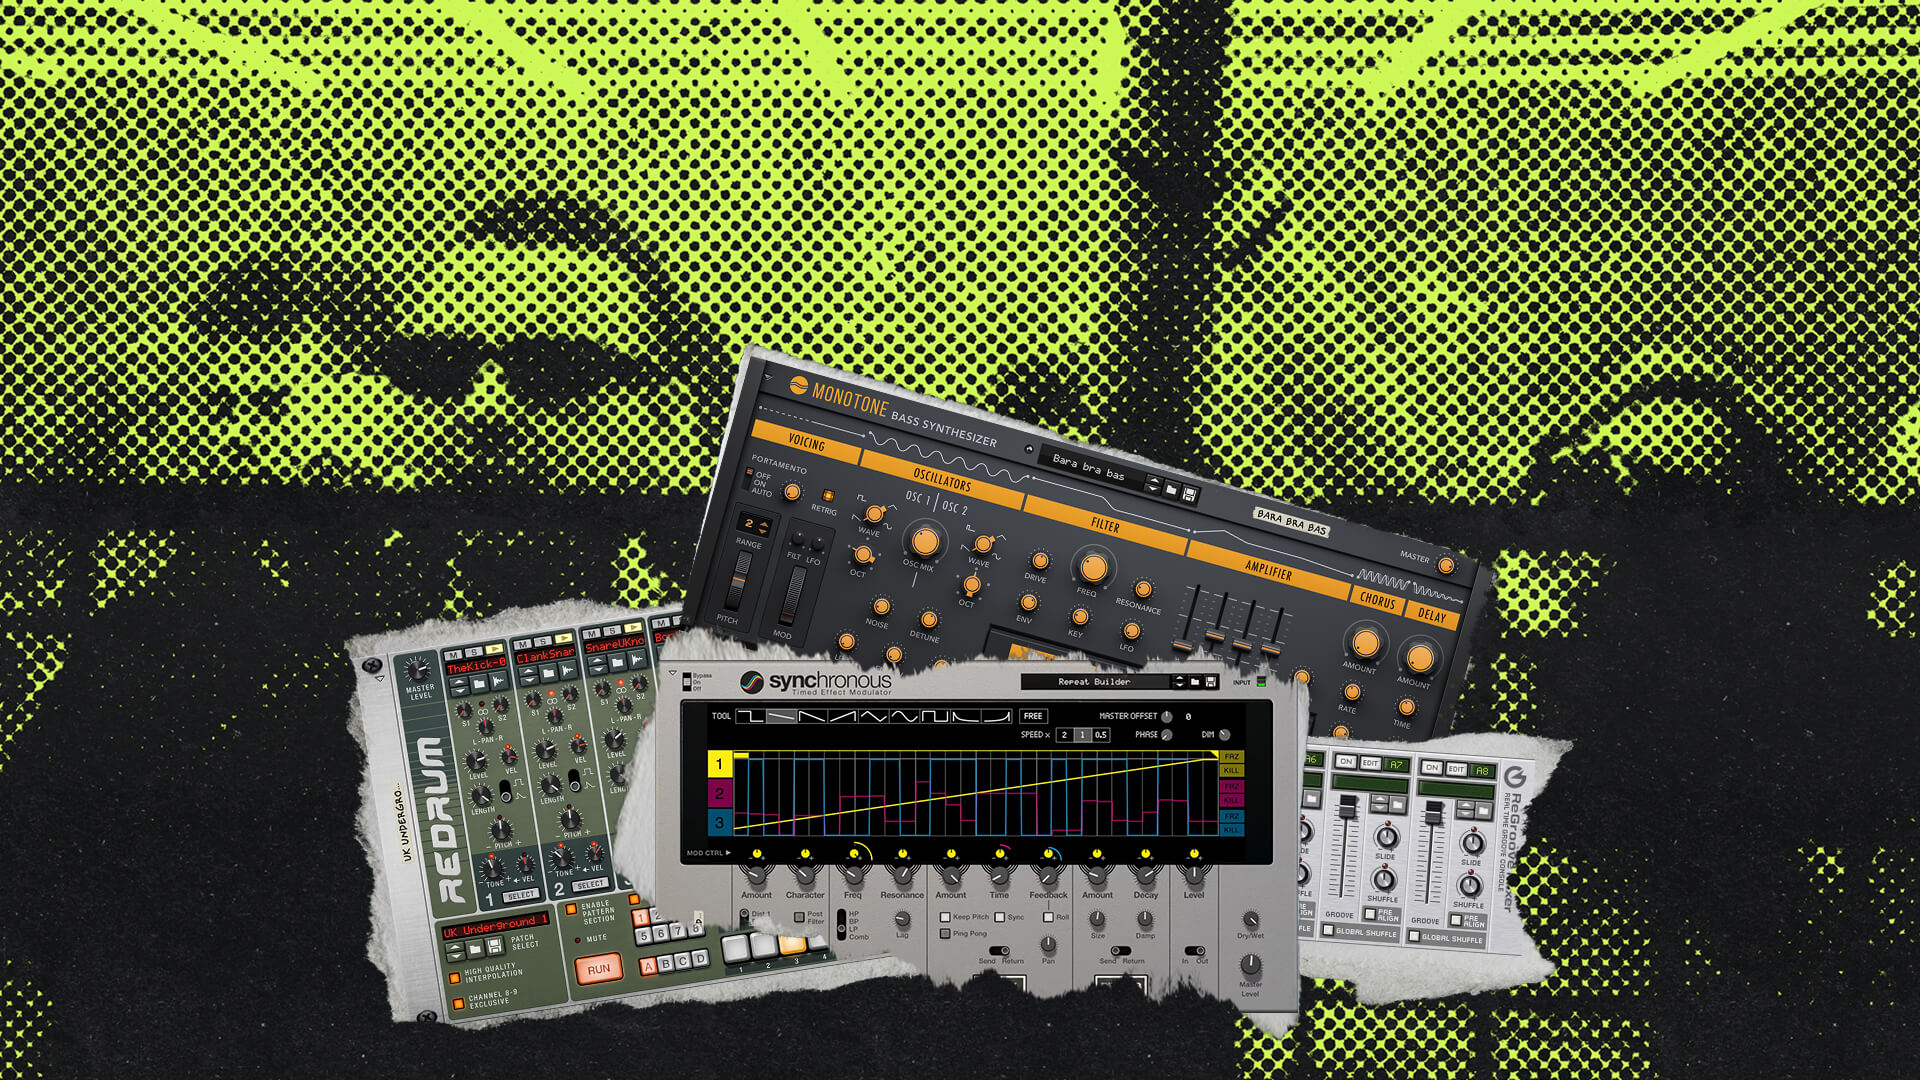
One of Reason’s core strengths as a sound design environment is how well its native devices and third-party devices work together in the rack. In this video, Adam Fielding shows the sound design techniques behind a massive Reese bass, starting from a plain Europa patch. He sculpts it with Osmium and Kilohearts devices, adds movement with Pulsar modulation and OTT, bounces the results into a custom audio palette, and plays that palette as a granular instrument in Grain, layered over a breakbeat and a sub bass from Spire.
Devices used: Reason’s own Europa, Osmium, Pulsar, Grain, and Synchronous, plus Kilohearts Filter, Disperser, and 3-Band EQ, Spire, and OTT. Adam says the Kilohearts Toolbox is free in the Rack Extension store.
More from Adam Fielding: how he produces music for sync licensing and how he builds a hybrid cinematic cue in Reason. For a simpler starting point, see how to build a dirty Reese bass from scratch with Malström.
Transcript
- 00:00 – Intro: transforming simple sounds
- 00:35 – What we’re building
- 01:04 – Initializing Europa and setting the oscillators
- 02:15 – Osmium distortion and overdrive
- 03:31 – Smoothing the highs with a low-pass filter
- 04:17 – Smearing transients with Disperser
- 05:06 – A notch filter modulated by Pulsar
- 06:53 – Adding a phaser with Sweeper
- 07:34 – A second Osmium pass
- 08:23 – Boosting OTT and adding a 3-band EQ
- 09:16 – Modulating the EQ with Pulsar
- 10:00 – Bypassing the effects chain
- 10:35 – Bouncing patches to build an audio palette
- 12:49 – Loading the palette into Grain
- 14:06 – Velocity to start position
- 14:34 – OTT, tremolo, and a pitch envelope
- 16:02 – Drawing in the bass part
- 17:04 – Pitch bend and mod wheel automation
- 17:39 – Layering a sub bass with Spire
- 18:26 – A stepped effect with Synchronous
- 19:19 – Outro
Intro: transforming simple sounds
Hi there, my name’s Adam Fielding. One of the core strengths of Reason as a sound design environment is in the interoperability of both Reason’s native devices and third-party devices in the rack. By combining Reason’s native device loadout with some spicy third-party plugins, it’s entirely possible to drastically transform simple and familiar sounds into something else entirely.
What we’re building
In this sound design video, I’m going to be creating a Reese bass sound utilizing a custom sound design palette made up of sounds starting in Europa, which I’ll then be sculpting using a mixture of both built-in and third-party devices. Once we’ve got enough sounds to play with, I’m going to create a playable grain instrument utilizing this palette and layer it up with an existing drum idea to hopefully create something really interesting. So, hey, ready for some noise making? Let’s go, go, go.
Initializing Europa and setting the oscillators
Right, to get things started, I’m just going to drag an instance of Europa into the otherwise empty rack here. And I’m going to skip ahead a bit and add an instance of OTT to the insert effects section here. Now, the reason I’m adding this is because it’s going to be one of the last effects in the effects chain, but as it’s going to have such a large impact on the overall sound, I kind of figured it made sense to just add it from the off. So, let’s go over to the Europa in the rack. And this is just the init patch. Nothing fancy. Sounds like this.
So, keeping with that theme of keeping things nice and simple, let’s dial in the first oscillator. I’m going to set this to a sawtooth wave and bring in some unison. Set that to two voices. Increase the spread so it’s nice and wide. Add a bit of detune and route that through a low-pass filter, which I’ll set to about 250 Hz, and dial in the resonance a bit. And that sounds like this.
So nice and simple. I’m going to do pretty much the same thing with the second oscillator. Set that to a sawtooth wave, bring it down an octave, and set that to two voices. Nice and wide, a bit of detune, and route that through the filter and dial that back. And that sounds like this. So absolutely super simple sound, but as we’ll see, it should be good fodder for heavy processing.
Osmium distortion and overdrive
Now, the first thing we’re going to do in the effects section is add a distortion and filtering pass to the sound. For the distortion part, we’re going to be adding an instance of Osmium. So I’m just going to bring that in. Drag that in, and that’s in the rack all nice and connected over here. Osmium is going to be introducing a sort of sweeping distorted layer using a wave folder module. So I’m just going to go ahead and bring that in here. And this is the wave folder. Sounds like this.
Now I want to give it a bit of motion, so I’m going to dial that back a bit and assign LFO 1 to the wave folder drive and dial the amount up. Dial that back a bit. And there we go, a nice kind of sweeping sound there. Now, one of the key ingredients in this chain is going to be lots of modulation, so having that kind of nice little sweeping sound will just give an extra bit of movement to the sound.
Now I’m going to add an instance of overdrive to the output, and this is going to really, really kind of destroy the sound. So I’m going to set that to tube distortion. Dial that right up. Dial the tone up. And that sounds like this. So the wave folder module is an excellent way of adding an additive digital sound to proceedings, while the overdrive here is being used to rebuild and reinforce the highs without sounding too brittle.
Smoothing the highs with a low-pass filter
Now for the filter that I mentioned a second ago, I’m going to add an instance of the Kilohearts Filter, so I can just use that as a low-pass filter. Now, the Kilohearts Filter is part of the Kilohearts Toolbox bundle, which I believe you can get for free from the Rack Extension store, so I highly recommend checking it out. It’s really, really good, full of really useful tools like this. So I’m just going to dial the low-pass filter up to about 2k. And that sounds like this.
So it’s just helping to smooth the highs a bit. And as you can hear, the OTT is doing quite a lot of work there with the filter, bringing in some of those highs and maintaining a pretty consistent level. So if we bypass that for now, it sounds like this.
Smearing transients with Disperser
So for the next stage in this chain, I’m going to be adding an instance of Kilohearts’ excellent Disperser Rack Extension. Now, this is available as a Rack Extension and a VST. I’m using the Rack Extension here, and I’m going to set that to about C3. Dial that in really heavy. Add a bit of pinch.
So Disperser is an all-pass filter that shifts transients through time. Combined with the already present OTT, you get this kind of nice smeared, exaggerated effect on note attacks and transients. Sounds like this. You can very, very, very roughly approximate this sound using Reason’s BV512 device set to EQ mode, but it really is kind of a pale imitation here. I want the real deal with Disperser.
A notch filter modulated by Pulsar
Now for the next section, we’re going to add a notch filter and phaser pass to the sound for some extra movement. For the notch EQ, we’re going to be using, again, the Kilohearts Filter. So I’m just going to drag that in here and set that to notch mode. And we’re going to set the cutoff reasonably low, for reasons I’ll get into in a second, and keep the Q curve pretty wide. So I’m going to dial that up a bit. So that will sound like this.
Despite not featuring a modulation section, I’m going to modulate the cutoff frequency of this filter using an instance of Pulsar. So I’m just going to bring that in here. Now, this is Pulsar, and if you watched my video on how to use the rack connections properly, this should be a familiar sight to you. So I’m going to flip the rack around and connect the inverse of output one to the filter cutoff, for reasons I’ll get into in a second. And I’m going to set that to a sawtooth waveform.
The reason I’ve connected the inverse is so that we’re getting a kind of downward slope rather than the illustrated upward slope of this sawtooth wave here. And that sounds like this. So that’s giving us a really pronounced sweeping sound. Now you can hear that kind of clicking sound every time the LFO resets, so I’ll just play that again.
To reduce that clicking sound, we’ll dial up the lag knob on the LFO. This is because every time the LFO resets, it’s kind of a hard jump from one to zero, or zero to one rather, and you end up with that kind of clicking. So this just helps to smooth things over.
Adding a phaser with Sweeper
Now for the phaser, we’re going to introduce an instance of the Sweeper modulation effect and bring that in here. And we’re going to keep that on phaser mode. And I want that to have a nice wide spread, and I’m going to assign the LFO to the frequency, rather than the filter frequency. And I’m going to keep the LFO reasonably slow, so let’s keep that about 3 hertz. So we don’t need this to be a super pronounced effect, as we’re mainly using it to add just a little bit of motion, so I’m going to dial that back a bit to say about 30%.
A second Osmium pass
Before heading into our final distortion and filter pass. So for the final distortion pass, I’m going to add another instance of Osmium. Just going to drag that in here. And I’m going to kind of do the inverse of what I did last time. So I’m going to create an instance of overdrive here, set that to tube. I don’t want that to be quite as heavy as it was last time, so let’s keep that around 30%. And I’m going to stick a wave folder on the output this time, set to sine mode again, for just a little bit of extra character.
So this distortion unit here is definitely more subtractive than the previous one I added. It’s being used to reduce the harsh quality of the sound while imparting a nice little bit of extra character.
Boosting OTT and adding a 3-band EQ
Now, before adding our final device, I guess now is a good time to look back at this OTT that we added earlier. So I’m going to have a look here and I’m just going to adjust it to give everything a bit of a boost. I’d like a nice beefy gain on that, so I’ve set that to 60 dB gain. I’m going to scoop the mids a bit and just kind of dial up the highs and the lows a bit. And that sounds like this.
And finally, to add a little bit of extra motion and sculpt the sound further, I’m going to be adding a 3-band EQ, which is another Kilohearts device. You might be noticing a theme here. With this EQ, we’re primarily going to be scooping the mids, so I’ll scoop that by a couple of dB, and I’m really going to boost the highs a bit as well. So let’s give that a nice 6 dB bump there. And that sounds like this.
Modulating the EQ with Pulsar
Now I’m going to bring that Pulsar that I added earlier down to the 3-band EQ. It’s still connected to the previous filter, but I’m now going to connect LFO 2 to the high split and high gain CV inputs on the back of the EQ. Now I’m going to activate LFO 2, bring the level up, and maybe keep that just a little bit slow. So that’s quite an extreme setting at the moment, so I’m just going to flip things around and set the split to 45 on the back, so it’s a bit less extreme, and just kind of leave that and hear how that sounds.
Bypassing the effects chain
Now, if we bypass the insert effect section of this Europa, we’ll be able to hear exactly what it’s doing. So let’s bypass that now. So, wow, that’s quite a difference. And now turned on. Interesting. Now we’ve got this interesting Europa sound going through this quite wild and wacky effect section.
Bouncing patches to build an audio palette
But before I do anything else, I’m just going to draw in a couple of bars here and draw in a C2 note and just bounce that to audio. I’m going to adjust the tempo a bit here as well. So I’m going to bounce that to audio by pressing Shift and B. And that pops out as a nice little audio clip there. So, just listening to that again. So nice. We can play with that.
So we’ve created a really, really simple patch to go through this effect section. But what if we start throwing in preset patches from the Factory Soundbank that have a bit more complexity to them? Well, let’s have a look. So let’s go over to the Factory Soundbank, go to the Europa patches folder, have a look in Basses, and let’s just throw some of these in and see what they sound like. So, Agony. What does this sound like? I like that. That’s ridiculous. Let’s go for it. So I’m going to do the same thing again: click on this clip and bounce that to audio by pressing Shift and B, and let’s bring that in here.
Now let’s do that for another patch. So let’s have Beast Talker. How does that sound? Oops, I didn’t mean to do that. Let’s have Beast Talker. Let’s bring that in to Europa here. And that sounds like this. Maybe we’ll have a shorter clip this time, so I’m going to unmute that and bounce that to audio again by pressing Shift and B. And that’s going to render to audio, and we’re going to put that at the end here. So I’m just going to go through the presets and find some audio that I really like, find some patches I like, bounce those to audio, and kind of stitch them all together. So I’m just going to do that now.
Now, from that one instance of Europa and the effects chain, we’ve created about 25 seconds of audio. So I’m going to play that from start to finish for you now.
Loading the palette into Grain
Right, so we’ve got a nice long audio file which is going to make up our palette for this Reese sound. So what next? Well, here’s where I cheat just a little bit and say here’s one I did earlier. So this is a document consisting of a breakbeat drum pattern made up of chopped-up breakbeats, courtesy of Excite Audio’s Bloom drum breaks instrument, and an instance of Wave Alchemy’s Triad for drum hits, and altogether that sounds like this.
Now, the eagle-eyed among you might have noticed that there’s also an instance of Grain which I’ve already dragged in here. So this is Grain, and this is where I’m going to be doing most of my processing for that Reese audio. I’ve already dropped that into this instance here, so that sounds like this at the moment. So it’s just the audio that we rendered from last time. Now, if you adjust the pitch, you end up with this kind of weird sort of phasing sound, and that’s because it’s set to long grains oscillator mode. So I’m going to set that to tape.
So now, as a result, every time you trigger a note, it’s just going to change the playback speed of the sample rather than using any kind of granular processing. So it ends up speeding up or slowing down depending on what the note is. So if we play a higher note, you’ll be able to hear it’s much quicker. So that’s fun.
Velocity to start position
Now, the most important thing we’re going to be doing here is assigning the velocity to the start position of this Grain device. So now if we do that, we’ll just play a couple of notes. So just by playing a few notes and changing the velocity of each note being played, we’re already getting quite a nice variety of sounds just by pressing a single note over and over again.
OTT, tremolo, and a pitch envelope
Now I’m going to add an instance of OTT to this effects chain again, just so I can help to kind of glue things together a little bit. So I’m going to set the depth to about 30% or so. And here we go. Now, I’m also going to add a kind of tremolo-type effect. So I’m going to assign LFO 2 to the amplifier gain, and I’m going to set that to about 50. And I’m going to set the beat sync to sixteenth notes. And that sounds like this.
I’m going to scale that with the mod wheel so it only kicks in when the mod wheel is brought up. And to compensate for that, I’m also going to assign the mod wheel to the amp gain and set that to minus 30 or so. So I can add a nice kind of tremolo-type effect there. So I’m also going to assign envelope 3 to the pitch of the notes and set that to about 30. And that sounds like this.
So now we get that kind of ramping pitch sound when you press a note, which I think is going to be useful. It’s kind of a nice little accentuating touch. I’m actually going to set that back to zero by holding Control and clicking on it, and I’m going to edit the automation for that and draw that in when I need it.
Drawing in the bass part
Now I’m just going to have a think about what I want that bass to sound like. So I’m just going to play this. So I’m thinking… so I’m just going to draw that in. Here I’ve created a clip, zoom in a little bit, and just copy and paste that. And now I’m just going to go ham on the velocity values and just see what pops out. So let’s just draw that in there. Interesting. Now I’m just going to go ahead and iterate on some of those velocity values so we end up with something a little more coherent. So altogether that sounds like this.
Pitch bend and mod wheel automation
So I’m just going to go back to the rack and automate the pitch bend wheel, so we end up with a nice kind of increasing pitch bend at the end of that section. So let’s just draw that in here. And now that sounds like this. Now I’m just going to hit record and also record some mod wheel changes as well, so we bring in that tremolo effect that we had earlier.
Layering a sub bass with Spire
So that’s all well and good, but I feel like I could also do with a nice sort of subby bass as well in there. So I’m going to go to the instrument section here and bring in an instance of Reveal Sound’s Spire synth. Now, there’s one preset in particular that I use all the time in Spire, and that is called Betatitude. So I’m just going to go to the factory sounds here and bring in Betatitude. I’m just going to dial that back quite a lot. And that sounds like this.
And I’m going to do the same thing here: I’m just going to draw in the same notes. So I’m just going to go ahead and do that now. So let’s hear how that’s sounding.
A stepped effect with Synchronous
Now, it’d be nice if we had a nice sort of not stuttery, but kind of ramped effect on that Spire. So I’m just going to go ahead and go to the rack, and actually I’m going to drag in an instance of the Synchronous here and use that to add a bit of a sort of stepped sound to proceedings. So I’m just going to draw in some curves here, and I’m going to set that to the note’s level. Bring that down a bit as well. And how’s that sounding? So I think that works nicely. So altogether that sounds like this. Neat.
Outro
And there we have it. The joy of using Reason’s native and third-party devices to create something new from something unassuming and sometimes not so new. While no individual part of this process is something I would personally describe as being particularly complex, it’s the sum of all of these steps that can combine to create something interesting and a little bit twisted. So, do you have any particular tricks for getting bass sound design started? Let us know in the comments. And until next time, happy noise making. Cheers.